Friday, January 27, 2012

Vintage Baby Album


Hello friends!
I created a mini album this week with a sweet vintage baby theme!


I used paper by October Afternoon from their Ducks In a Row line with lots of flowers and doilies
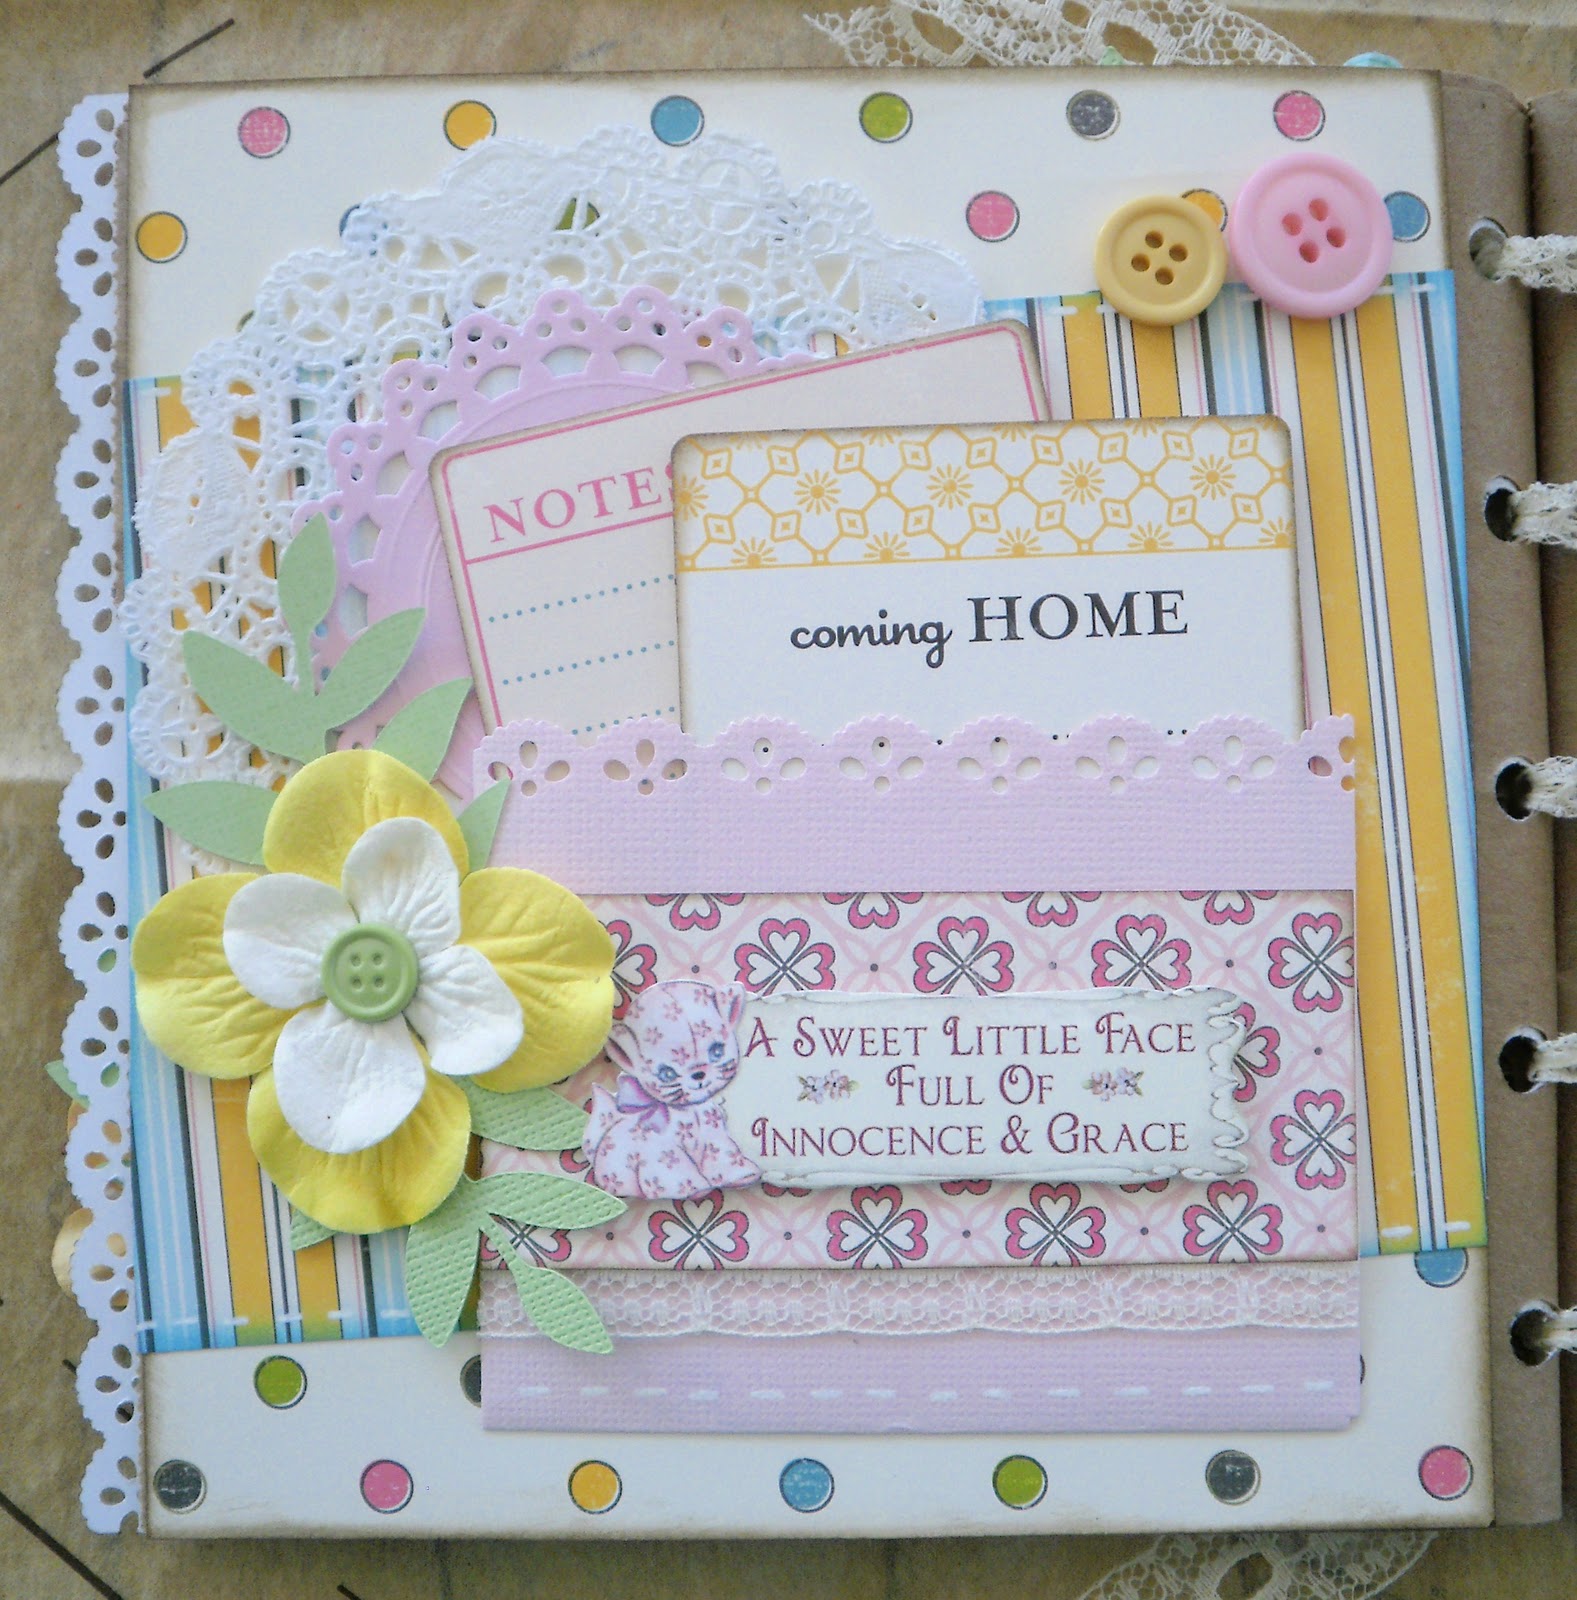

I also added vintage baby cards from my collection, printed on cardstock.


I loved the light colors of this line and how well in coordinated with the colors of my vintage cards.


The cute little ducks are from the paper line matched so well with the baby theme!


I used a vintage card image on this page to create a pocket page.


The album base is paper bags.
I love making paper bag albums because they are such an easy base for a mini album
 and look great with vintage papers!
I listed this album for sale on ebay.


Wishing you a lovely day, Lindsey


Pin It

Tuesday, January 24, 2012

Playtime Mini Album


Hello friends!
I've been playing in my paper stash and
 created this paperbag album last week.


I used the Sidewalks line by October Afternoon. I didn't have much embellishments leftover from the line so I hand cut out cute little images of boys and girls from a sheet of one of the patterned papers.


I mixed in paper from October Afternoon's Fly A Kite line, which matched perfectly to have enough to complete my mini book.


The sheet of rose paper was my favorite from the line. They were easy to cut out and look great for any theme!


For all of my photo mats I always ink the edges. I used Walnut Stain Distress Ink to give them a nice aged finish.


I used my newst border punch by Jenni Bowlin on this page.
I really love how fun and different it is from all of my lace border punches.


Wishing you happiness, Lindsey


Pin It

Friday, January 20, 2012

Steampunk Mini Album


Hello friends!
I've had a pack of Steampunk Debutante paper by Graphic 45 in my stash for awhile now and I finally decided to get it out and make a new mini album.


Do you like the steampunk style?
The mix of Victorian beauty and romance with the mechanical fantasy style?


I think it is a fascinating combination!
I loved that this paper line came with so many great Victorian style graphics to cut out for a lovely whimsical style.


I mixed in lots of Tim Holtz metal embellishments, such as this mini key and pearl baubles.


I ran across a cool bag full of antique clock hands at an antique store recently that matched perfectly with the theme of!


The rich colors of this line were also really nice to work with. I don't usually use these colors but I found that it jump started my creativity by working with something so different.


I also found great steampunk style embellishments at Hobby Lobby
from Jolee's embellishments.
This album is for sale here on ebay.


Wishing you a most wonderful day, Lindsey


Sunday, December 25, 2011

Christmas Tag #12


Hello friends!
Merry Christmas to you!

 I have one more tag to share!


Cut a tag shape to 3x6 or use a manila tag.
Print and cut above vintage image.


Ink tag with red Distress ink. I used Festive Berries.


Flick droplets of water with your hand across the tag and set aside to dry.


Take a splatter stamp or a flick across with a tooth brush, white paint to cover the entire tag.


Glue image to the center and tie a pink bow across the bottom.


Add a mini banner and a Christmas sentiment to the top of the tag.
Tie pink ribbon through the top of the tag.


Take red glitter glue to accent the berries in the image to finish it off.


Merry Christmas wishes to all!
 Lindsey

Saturday, December 24, 2011

Christmas Tag #11

Hello friends!
Merry Christmas Eve!!!
This is the next to last tag.


Start by cutting a tag shape from red cardstock measuring 3 x 6.
Cut a piece of scrapbook paper slightly smaller and punch or cut a decorative edge along one end. Glue to center of tag.


Cut fun image from scrapbook paper or use a vintage image and glue to the tag.
All the paper used on this tag is from October Afternoon's Holiday Style line.
Add a couple flowers to the bottom corner.
Take a white gel pen and draw stitch lines across the top and bottom of the tag.


Take pink adhesive pearls and adhere them to the tag in a swirl design.


Add a pink bow to the top of the tag.
Add your Christmas sentiment in between the flowers on the tag.
Take red glitter glue and add decorative dots around the top of the tag.


Tag is finished!

I loved working with this paper line! October Afternoon always inspires me!


Wishing you a lovely Christmas Eve, Lindsey

Friday, December 23, 2011

Christmas Tag #10


Hello friends!
Christmas Tag #10 features a super sweet vintage kitty card!


Print this card and cut out the kitty.


Cut out a tag shape or take a manila tag and pick out a stamp to use for the background of the tag.
You will also need white paint.


Ink your stamp up with white paint and stamp along the top and bottom of the tag.
Let paint dry.


Now cover your tag with red Distress ink (Festive Berries). Don't worry about covering the stamped image. go right over it.


Now take a damp cloth and lightly rub the ink off the stamped image.
Isn't that cool that the paint acts as a resist to the paint?


Now glue the image to the center.


Cut out a banner shape from patterned paper. Fan fold the ends to create a layered banner.
Adhere a Christmas sentiment to the banner.


Glue the banner to the bottom of the tag.


Tie a ribbon through the top and the tag is finished!


Have a wonderful day, Lindsey


Wednesday, December 21, 2011

Christmas Tag #9

Hello friends!
It's time for tag #9 of my 12 Christmas tags!


I love this card! I was so excited to find such a lovely card with the song sheet background and woodgrain.
Print and cut this card out.


Cut a tag from cardstock or take a manila tag measuring 3x6 and emboss it with a woodgrain pattern. I am using an embossing folder by Tim Holtz.


Ink the tag with Vintage Photo Distress Ink.


Now take Aged Mahogany Distress Ink, and lightly ink over the tag.


Now adhere a scrap of patterned paper to the center of the tag. Then layer a small white doily to the tag. Adhere the vintage image to the center. 


Cut 2 strips of ribbon and glue to the top and bottom of the tag.


Add a pearl stick pin through the ribbon and add a small paper rose.
Cut a snowflake from cardstock and glue to the tag using pop dots. Add a button to the center of the snowflake.


I then took a small piece of snowflake tissue tape and adhered it to the upper left corner of the vintage image. The tissue tape is by Tim Holtz.
Add ribbon to the top of the tag and it's done!


Thank you for stopping by, Lindsey