Friday, December 23, 2011

Christmas Tag #10


Hello friends!
Christmas Tag #10 features a super sweet vintage kitty card!


Print this card and cut out the kitty.


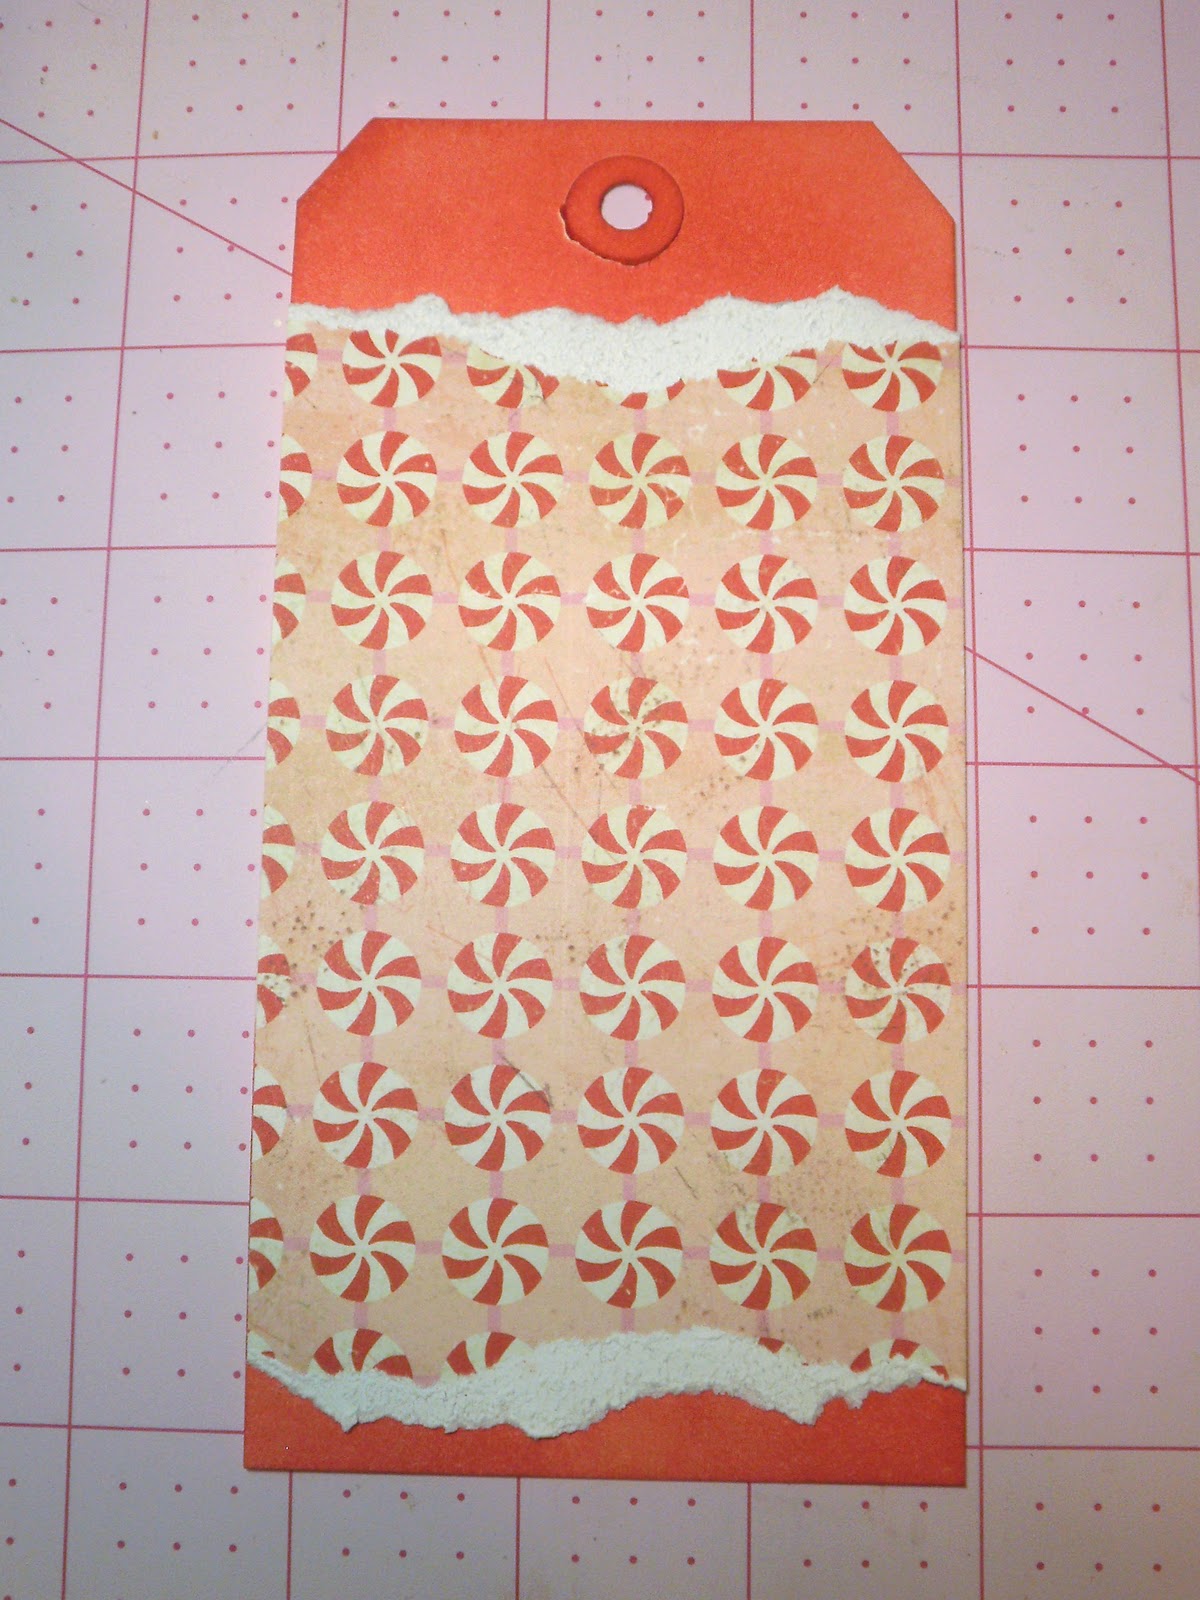
Cut out a tag shape or take a manila tag and pick out a stamp to use for the background of the tag.
You will also need white paint.


Ink your stamp up with white paint and stamp along the top and bottom of the tag.
Let paint dry.


Now cover your tag with red Distress ink (Festive Berries). Don't worry about covering the stamped image. go right over it.


Now take a damp cloth and lightly rub the ink off the stamped image.
Isn't that cool that the paint acts as a resist to the paint?


Now glue the image to the center.


Cut out a banner shape from patterned paper. Fan fold the ends to create a layered banner.
Adhere a Christmas sentiment to the banner.


Glue the banner to the bottom of the tag.


Tie a ribbon through the top and the tag is finished!


Have a wonderful day, Lindsey


Wednesday, December 21, 2011

Christmas Tag #9

Hello friends!
It's time for tag #9 of my 12 Christmas tags!


I love this card! I was so excited to find such a lovely card with the song sheet background and woodgrain.
Print and cut this card out.


Cut a tag from cardstock or take a manila tag measuring 3x6 and emboss it with a woodgrain pattern. I am using an embossing folder by Tim Holtz.


Ink the tag with Vintage Photo Distress Ink.


Now take Aged Mahogany Distress Ink, and lightly ink over the tag.


Now adhere a scrap of patterned paper to the center of the tag. Then layer a small white doily to the tag. Adhere the vintage image to the center. 


Cut 2 strips of ribbon and glue to the top and bottom of the tag.


Add a pearl stick pin through the ribbon and add a small paper rose.
Cut a snowflake from cardstock and glue to the tag using pop dots. Add a button to the center of the snowflake.


I then took a small piece of snowflake tissue tape and adhered it to the upper left corner of the vintage image. The tissue tape is by Tim Holtz.
Add ribbon to the top of the tag and it's done!


Thank you for stopping by, Lindsey

Tuesday, December 20, 2011

Christmas Tag #8

Hello friends!
Tag #8 is a fun star shaped angel tag.


I started by cutting out a 5 inch star from white cardstock.
 Cut 2 and glue together for a sturdier tag.
I took a snowflake chipboard piece that I found at a local scrapbook store by Maya Road.
I glittered it with Martha Stewart's white glitter.


Ink the star with Vintage Photo Distress Ink.


Glue the snowflake to the center and tie a pink bow through the top of the snowflake.


Cut a banner shape from red cardstock and outline it with stitch lines using a white gel pen.
Glue to center of tag. I knew that I wanted an angel for this tag but couldn't find one in my personal stash to fit so I found this one from Crafty Secret's Christmas Creative Scraps. I cut it out and adhered to the center of the tag.


Another Tim Holtz style tag to share as well!


Wishing you a lovely day, Lindsey

Monday, December 19, 2011

Jolly Santa Christmas Tag #7


Hello friends!
Time for Tag #7!


Cut your tag shape to 3x6 or take a manila tag and a Santa image. I am using the Jolly Santa digi stamp from my Sugar Kissed Cottage Digi Stamp store on etsy.
I printed him and colored him in using Copic markers.


Ink the top and bottom of the tag with red ink. I used Festive Berries Distress Ink.
Cut a piece of patterned paper to fit the tag and tear the top and bottom, then adhere to the tag.


Ink a doily with Vintage photo Distress ink and adhere to the center.


Cut a banner shape from a scrap of pink patterned paper and ink the edges with red ink. Adhere to the center.


Take a white gel pen and add stitch lines around the edges of the tag.
Tie a pink ribbon through the top of the tag and add a Christmas tag to the top. I use this fun little gold and red glittered bell sticker that I found at Michaels from the Martha Stewart Christmas line.


Add a strip of mini red pom poms to the bottom of the tag.


Cut holly leaves from sheet music and ink with Peeled Paint Distress Ink. Adhere to the tag. Add a pink paper rose to the holly leaves.


Add a couple paper snowflakes around the tag.


Add your Christmas sentiment.


It's done! A quick tag to make that would look so cute attached to your Christmas packages!


I also wanted to share this vintage Christmas card with you today!
I love this one! The grey background the looks so pretty with the black and red colors!
Enjoy!


Wishing you a wonderful start to your week, Lindsey


Tuesday, December 13, 2011

Christmas Tag #6

Hello friends!
It's time for tag #6!
This one is a button tag!


To start, cut out a tag shape from patterned paper. I am using The Peppermint Collection by Crate Paper. I love this doily patterned Christmas paper.


I took a pink colored pencil and outlined some of the doilies
 to make them stand out more.


Freehand cut a couple strips of paper and snip the ends to create little banners. Make 1 smaller than the other. Cut or make a button card. Several scrapbook companies have paper featuring button cards, this one also comes from the Peppermint collection by Crate Paper. Ink the edges with Vintage Photo Distress Ink.


Layer the 2 banner shapes together and glue along the left side of the tag. Add the button card to the center.


Add a piece of scrapbook paper to the center of the button card.


Add a small doily to the center of the button card. I am using doilies from Martha Stewart's craft line at Michaels. I love these!


Cut 4 small circles or other shape from cardstock and glue pink buttons to the center.


Glue the buttons to the tag. Add a small paper peppermint cut to the center.
Add your Christmas sentiment beneath the button card.


Dye seam binding with Spun Sugar Distress Ink and tie a bow at the top of the tag.


Take liquid pearls or adhesive pearls and add them along the bottom of the tag.


Cut a holly shaped leaf from song sheet paper and ink green. Add a small paper rose to the leaf and glue in the lower left corner of the button card.


It's done!
 This tag would be easily adaptable for a non Christmas project.


I love Tim's tag tutorial! Here is my take on his tag.!


Have a wonderful day, Lindsey